
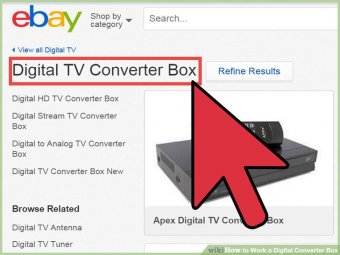
 Unpack the digital converter box. Take time to read the instructions carefully, as this will aid in setting up the programming for the device once it is connected.
Plug the converter box into a wall outlet. Using the power cord that came with the box, attach one end of the plug to the port on the box, while placing the plug firmly into a wall outlet. Do not turn on the device at this point.
Attach the converter box to the television.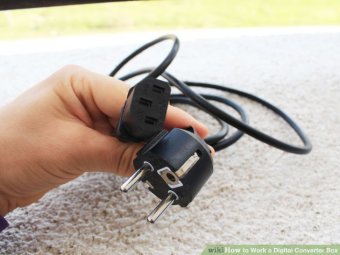 This is typically managed by using a screw on type of coaxial cable to connect with a specific port on the back of the box on one end identified as the "antenna out" port, and with the "antenna in" port on the back of the television set.
Connect the antenna cable to the appropriate port on the back of the digital converter box. This port is often identified on the back of the box as the "antenna in" port. Make sure all the coaxial cable connections are secure on the back of the box and the television. Then carefully attach the antenna to the remaining free end of the coaxial cable.
 Adjust the channel setting on the digital converter box. This setting should match the default setting on the television, and in most countries will be channel 3 or 4. Consult specific instructions for both devices in order to determine which channel can be used as the uniform setting.
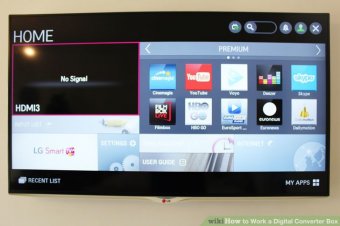
Power up the devices. Turn on the digital converter box-then the television. If all connections are secure and functioning properly, this should bring up a blank screen or a screen that serves as the basis for scanning for local over-the-air channels.
Initiate the scan. Using the process outlined in the instructions that came with the converter, start a scan of channels 2 through 69. As the scan progresses, the configuration of many boxes will note the main and sub-channels located, displaying a list for review. Upon completion of the scan, most systems will allow the user to arrange the stations to suit individual preferences as well as block any channels that are not desired or necessary for viewing.
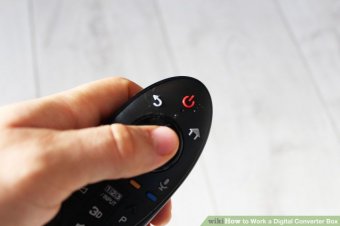
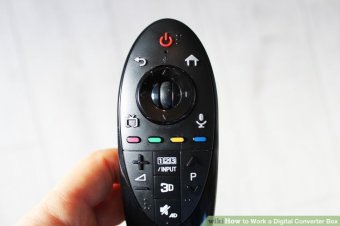
Test the signaling on the digital converter box. Using the remote control provided with the box, cycle through each of the saved channels and check for clarity of the voice and video signal. Adjust the antenna as necessary to strengthen reception.

Share this Post
latest post
-
 Broadcast TV free June 23, 2026
 -
 Digital TV converter box and antenna June 13, 2026
 -
 Best OTA antenna Indoor June 3, 2026
 -
 Converter box for antenna TV May 24, 2026
 -
 Digital TV antenna reception Map May 14, 2026
 -
 Digital to analog TV antenna May 4, 2026
 -
 RF Channel digital TV April 24, 2026
 -
 Air television channels April 14, 2026
 -
 Channels on digital antenna April 3, 2026